One of the most common challenges in 3d printing is getting proper first layer adhesion between your printer's build surface and the object you're printing. If your prints are lifting up at the corners or popping off entirely I've got a quick and easy solution: glue stick.
Before you roll your eyes at me, hear me out. There is NO SHAME IN USING GLUE STICK. It easily washes off your bed surface and leaves no marks on your prints -- no one will ever know!
"Disclosure: Some of the links on this page are affiliate links, meaning, at no additional cost to you, I will earn a commission if you click through and make a purchase."
What kind of Glue should I use for 3d printing?
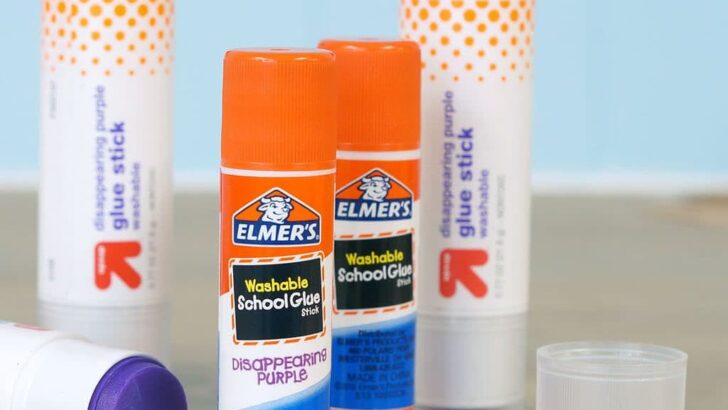
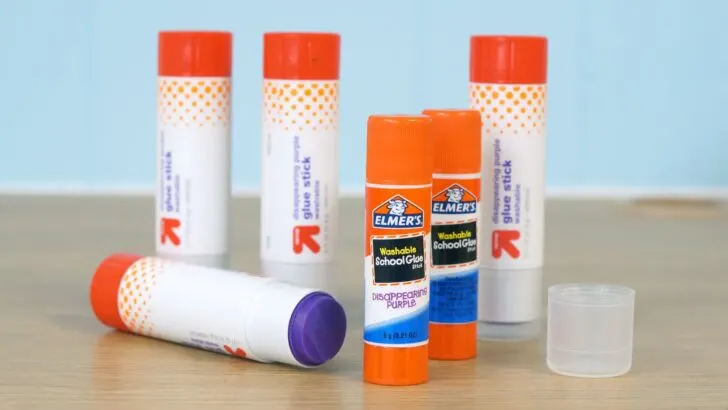
"Purple" glue stick has become the favorite glue of choice for solving bed adhesion problems. Why? For exactly the same reason why kids love purple glue sticks: it goes down purple so you can see where you've applied it, then dries clear. This is important for 3d printing because you want all the edges and corners of your model printing on glue.
Bonus: when the glue dries clear you know it's ready for printing!
I've used both Elmer's Purple School Glue Sticks and Target's Up & Up store brand with great success. The larger glue sticks are better for 3d printing since we're trying to cover a large surface area. The best time to buy glue is during back to school sales, but thankfully glue is always pretty cheap.
How to use Glue Stick on your 3D printer
- Clean the bed: Before applying the glue stick, make sure to clean the bed thoroughly and remove any fingers prints or residue that might affect adhesion. Use soap and water if you can remove your build plate, or just isopropyl alcohol and a paper towel if you're leaving it in place.
- Apply the glue stick gently to the bed, making sure to cover the entire surface evenly. Wait for a few seconds to allow the glue to settle and dry.
- Print! Once the glue stick has dried, you’re ready to start printing.
- Remove the object: Once the print is finished, wait for it to cool down completely, then remove with a spatula.
- Repeat: You can use the same glue stick multiple times, simply repeating steps 2 to 4 each time you print.

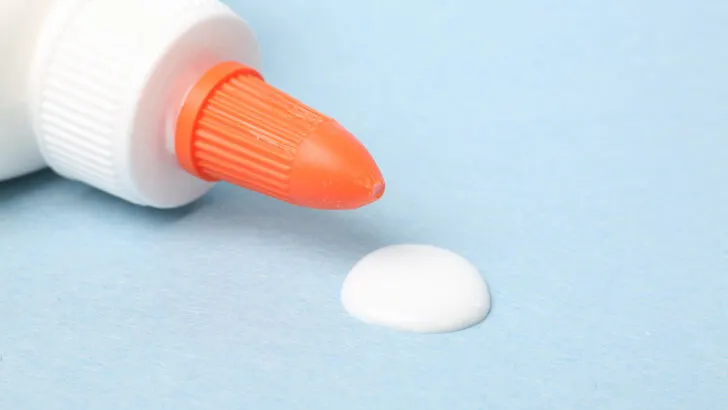
Can I Use Regular (Liquid) Elmer's Glue?
Yes you can! The key is using PVA -- PolyVinyl Acetate -- which is used to make white glue, wood glue, carpenter's glue and yes...school glue like Elmer's. PVA is a type of rubbery synthetic polymer that can be dissolved with water. It's also used in dissolvable support filament!
But it's messy. If you don't have a glue stick handy, but you've got some regular paper glue laying about, you can definitely use it.
To use liquid glue, first dilute it 1 to 1 with water in a cup or bowl. Then use a wide (cheap!) paint brush to apply an even coat of glue to your bed surface. Wait for it to dry before printing.
Can I use Gorilla Glue or Super Glue on my 3D printer?
Gorilla Glue is made of polyurethane and Super Glue is from cyanoacrylates. I'm not a chemist, so I don't know the exact reason. But no. It doesn't work. All it will do is bond permanently to your build plate. And we don't want that, do we?
Can I use 3D Gloop to stick prints to the bed?
Why yes friend, you CAN use 3D Gloop to help with bed adhesion! 3D Gloop is a wonderful adhesive specifically made with 3d printing in mind. There are three formulas: PLA, ABS and PETG. You'll want to match the formula of Gloop to the type of material you're printing. It works best on glass build plates, but can also be used on PEI sheets, painter's tape, and even kapton/polyamide tape. (Don't use it on your Prusa style PEI powder coating -- that's a different formula!)