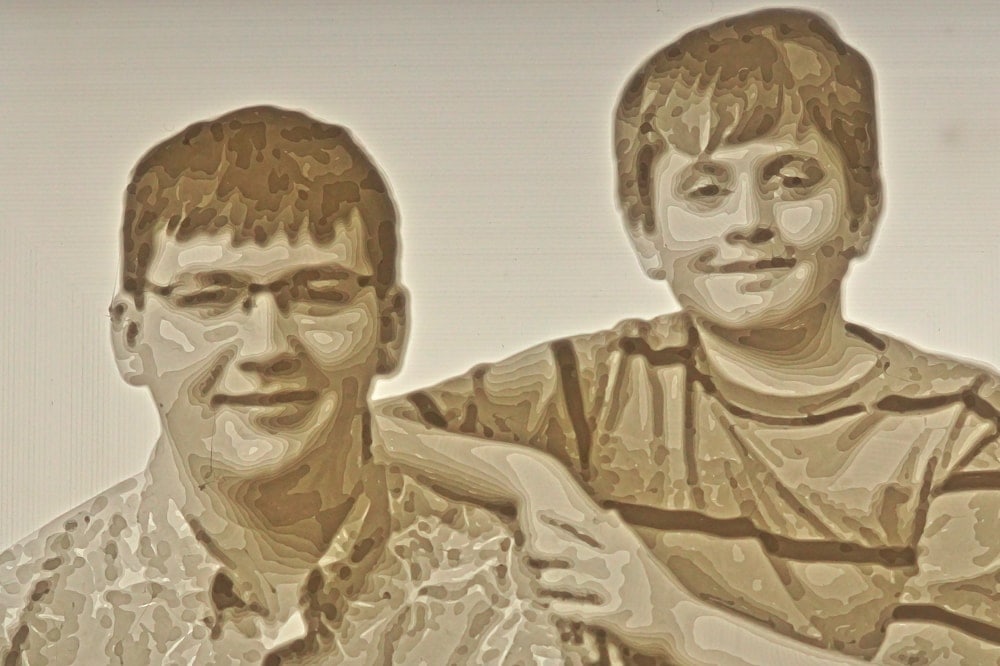
One of the coolest tricks your 3D printer can do is make an embossed photograph called a “lithophane.” The images doesn’t look like much…until you hold a light source behind it and see a magical black & white photo appear!
Wait, why do we call them lithophanes?
Probably because “magic photo thingy” isn’t nearly as impressive as a word derived from Greek. Litho means “stone” and phainen which means “to appear.”
Not sure who mashed that together to get litho-PHANE, but it’s not important.
Fun fact: lithophanes were originally hand carved from sheets of porcelain and were invented right after photography in 1827. Of course photography evolved from chemical soaked plates of glass to tiny computers in our pockets. Lithophanes? They were largely forgotten.
Until now.


The Modern Lithophane is 3D Printed
Enough with the history lessons, let’s get to your 3D printer.
Your well tuned 3D printer can mimic the look of a hand carved lithophane with a few grams of PLA. All you need is a special lithophane app to convert any digital photo into an STL file.
I should note that Cura — a favorite slicing program — can also make a lithophane. I do NOT recommend using it for this.
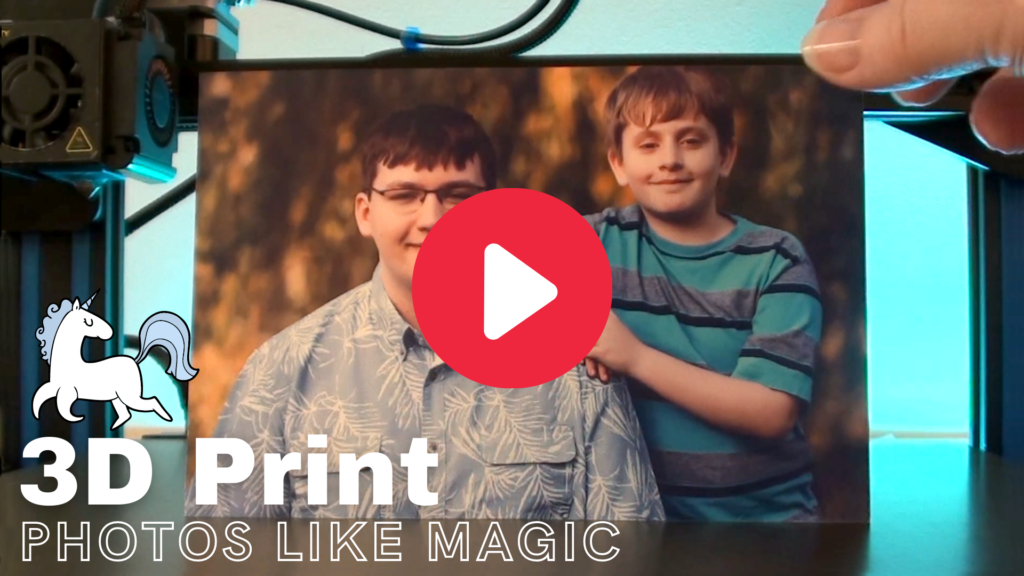

– – – Check it out, I made a YouTube all about lithophanes! – – –
Free Lithophane Creators for your 3d Printer
I’ve tested Cura, It’s Litho, 3D Rocks and Lithophane Maker.
⭐ Cura can make a lithophane by just loading a jpg. You might be tempted to use it because you’ve already got it open for slicing. Don’t. You’re limited to only flat lithophanes, there’s no option for adding borders or any kind of editing. This is a hard nope.
⭐ 3D Rocks is an older program that was taken over by Nested Cube. It’s harder to figure out and slower. You’ll see it mentioned on older YouTube tutorials because it was the only program around when lithophanes were being discovered by hobby printers.
⭐ Lithophane Maker is a better program to use and certainly runs faster. It’s currently supported and has a Facebook community if you want to talk shop. This program also has an option for those with a multi color printer.
⭐ It’s Litho is my favorite program to use. It’s easier to understand, has a modern interface and allows you to edit your images in the program. If you want a “color” lithophane it can print a special paper image to glue on the back of your lithophane.
⭐ There’s a pay app you can use called LuBan, but I’m not interested in paying for lithophanes just yet. Fans of LuBan rate the program very highly, and it can do other tricks like carving up your prints into puzzles and boxes. Feel free to check it out here.

Tricks to a Perfect Lithophane
I printed a WHOLE LOTTA test prints trying to find the best settings for lithophanes. Here’s what I learned:
- Tune your Printer! Your settings won’t matter a bit if your 3d printer has loose belts and sloppy wheels. Get everything nice and tight FIRST. If you need help tuning your printer, check out this video from CHEP.
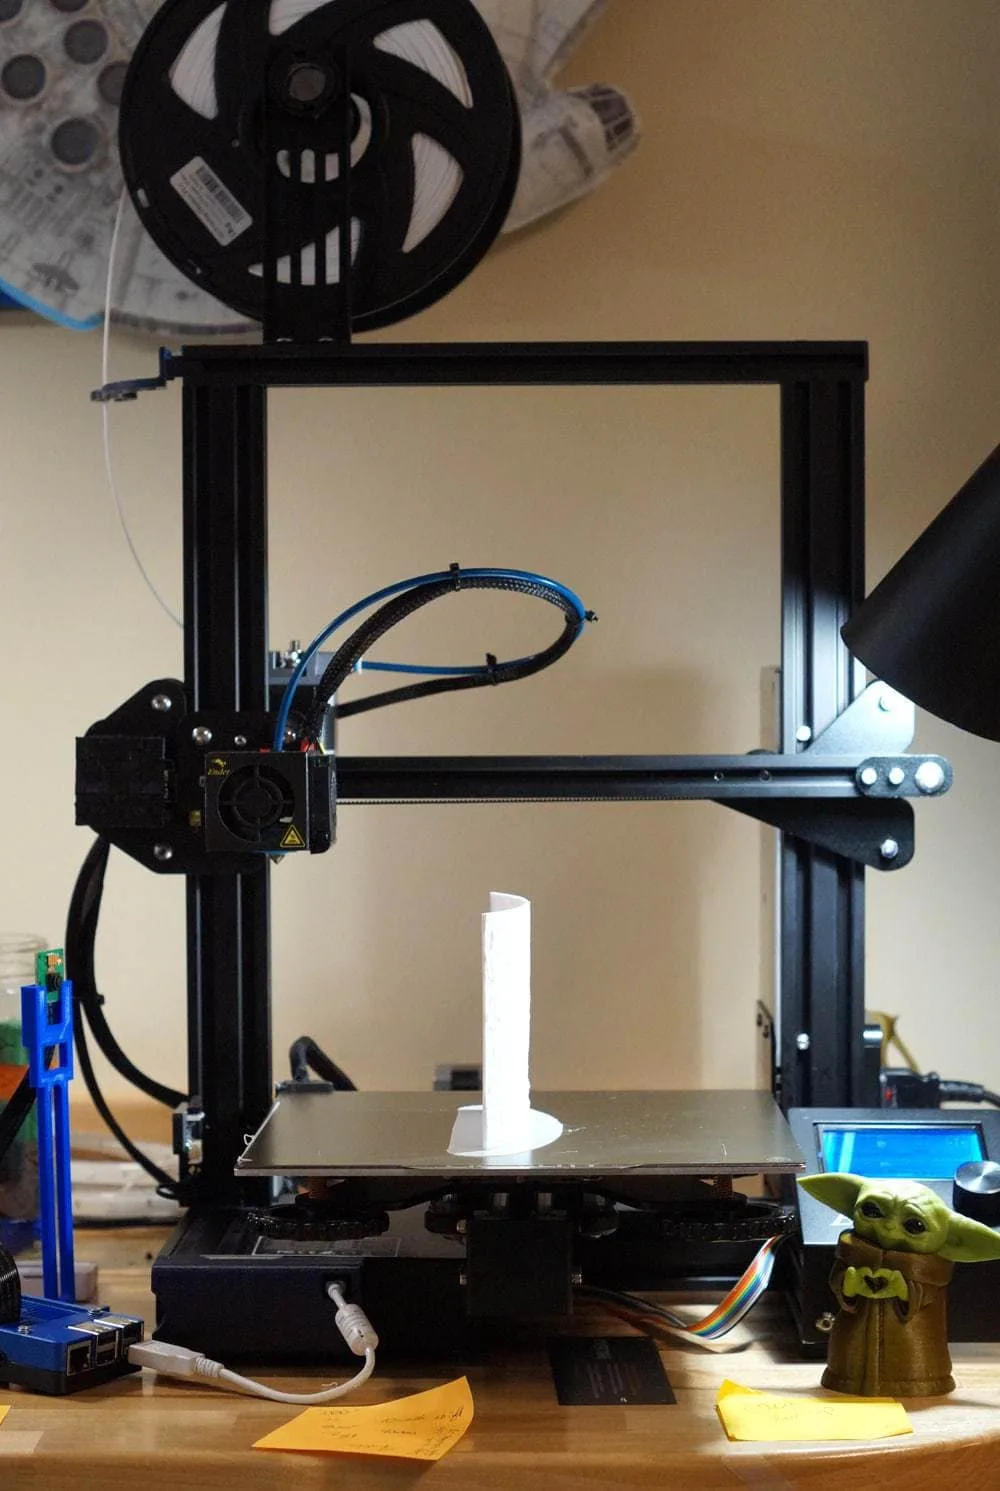
- Print Vertical! Sound scary? Maybe…but your quality will be improved a bajillion percent. #NoFlatLithophanes
- Use a Raft! Some people will try to tell you rafts are for noobs, like training wheels on a bike. Ignore that. Sometimes rafts are SUPER helpful. Printing an object with a really thin base needs all the help you can give it.
- Print Slow! Print your lithophane nice and slow to minimize wiggly jiggle. (Hey, if you want to get technical, then go watch CNC Kitchen.) How slow is slow? 40mms is a good start.
- Align the Print on the Y Axis! This is more important if you use a “bed slinger”, like a Cr10 type printer where the bed handles the Y movements. This tip is also to keep the print steady.
- No Infill –>ALL WALLS! You want the lithophane to be completely solid so you don’t see a pattern from your infill peeking through. Sure, you could use 100% infill, but that is slower AND introduces more shake to the printer. Since you’ve got the print aligned on the Y axix (see above) your printer will just make smoooooth back and forth movements. Set your wall/shells/lines to 99. Yes, that’s overkill, but you’ll know its enough.
- Print High Quality! You want to squeeze as much detail from your print as possible, so go ahead and use your finest layer line. On my printers, that’s a .12 layer height with my .4mm nozzle.