What’s in your tool kit? Your 3D printer came with a bag of tools to assemble and maintain your machine. Congratulations! You’re now the proud owner of a baffling number of tiny cheap wrenches, a scraper and some long thin needles.

Is this all you need to keep your printer running smoothly?
Probably not. But before you run to the hardware store for a cart of specialty tools, look in your junk drawer. You may already own everything you need for creating perfect prints.
But first – why did your printer come with a tube of long, thin needles? Acupuncture needles are often supplied with a new printer, but not to heal your inner spirit and cranky back. They’re actually pretty handy for clearing clogs from your nozzle.

Here are 15 things I’ve repurposed to maintain my 3d printer and clean up prints.
Plastic Food Storage Box: Recycle last week’s lunch meat container into your new printer’s tool box. No need to buy a fancy storage system for all those tiny tools.
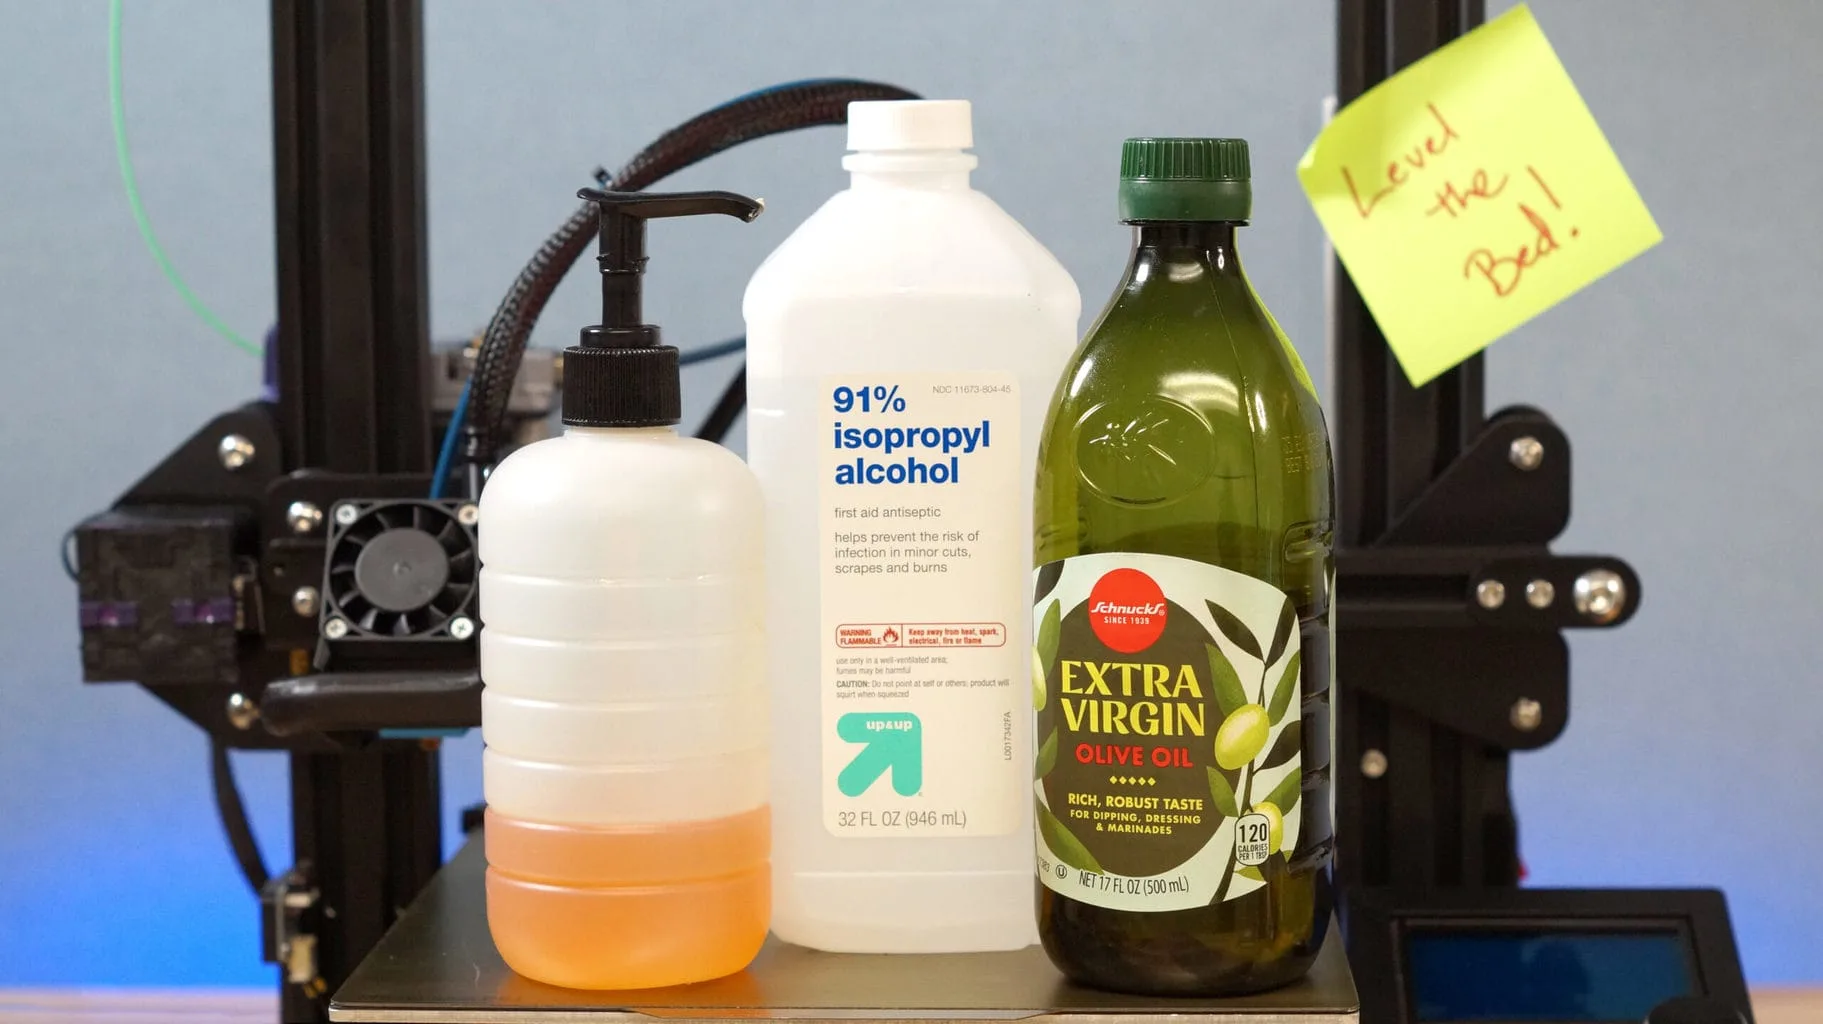
Sticky notes: The best method of leveling your printer requires a scrap of paper to gauge the distance between the bed and the nozzle. I keep a pad of Post-It Notes for bed leveling and to write myself reminders.
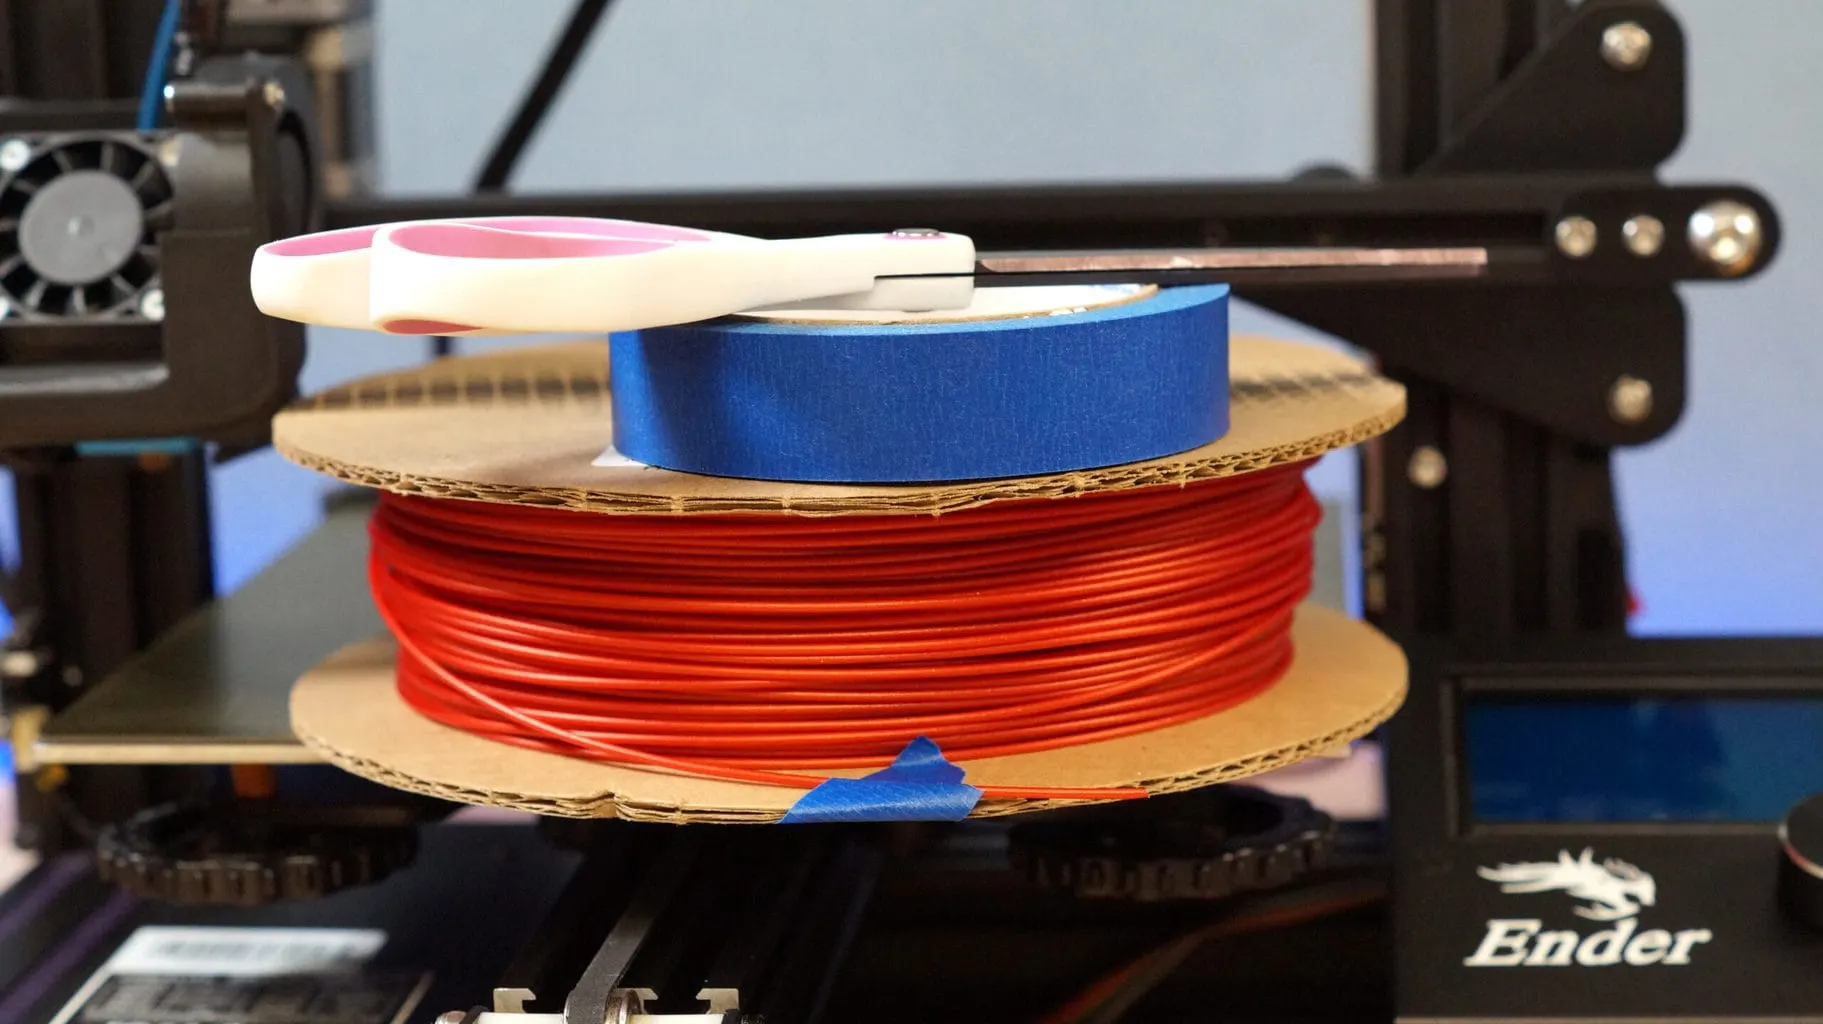
Scissors: You’ll need to trim the end of your filament into a sharp point to successfully feed it into the extruder. Most printers come with a pair of side cutters for this job, but if yours didn’t, or you lost them, good scissors are a perfect replacement.
Masking Tape: Prevent tangles by taping your filament to the spool between uses. Masking tape works better and is easier to remove than clear tape.

Alcohol and Paper Towels: When you have problems getting your print to stick to the bed, it might be greasy. It’s a gross fact of life, but traces of skin oil from your hands can interfere with first layer adhesion. It’s hard to see, but it’s there! Wipe fingers prints clean with 91% Isopropyl Alcohol and a paper towel.
Dish Soap: If you have a removable bed surface, you’ll want to occasionally take it to your kitchen sink for a deep clean with hot water and dish soap. Do this whenever you’re having issues getting that first layer to stick. Skin oils aren’t the only things getting smeared on your print bed, a lot of PLA is made with gooey additives for extra shine.
Magic Eraser: Ever get a super thin trace of plastic stuck to your bed from a too close nozzle? Attacking it with a scraper risks gouging your bed surface, but a magic eraser and a little hot water will do the trick.

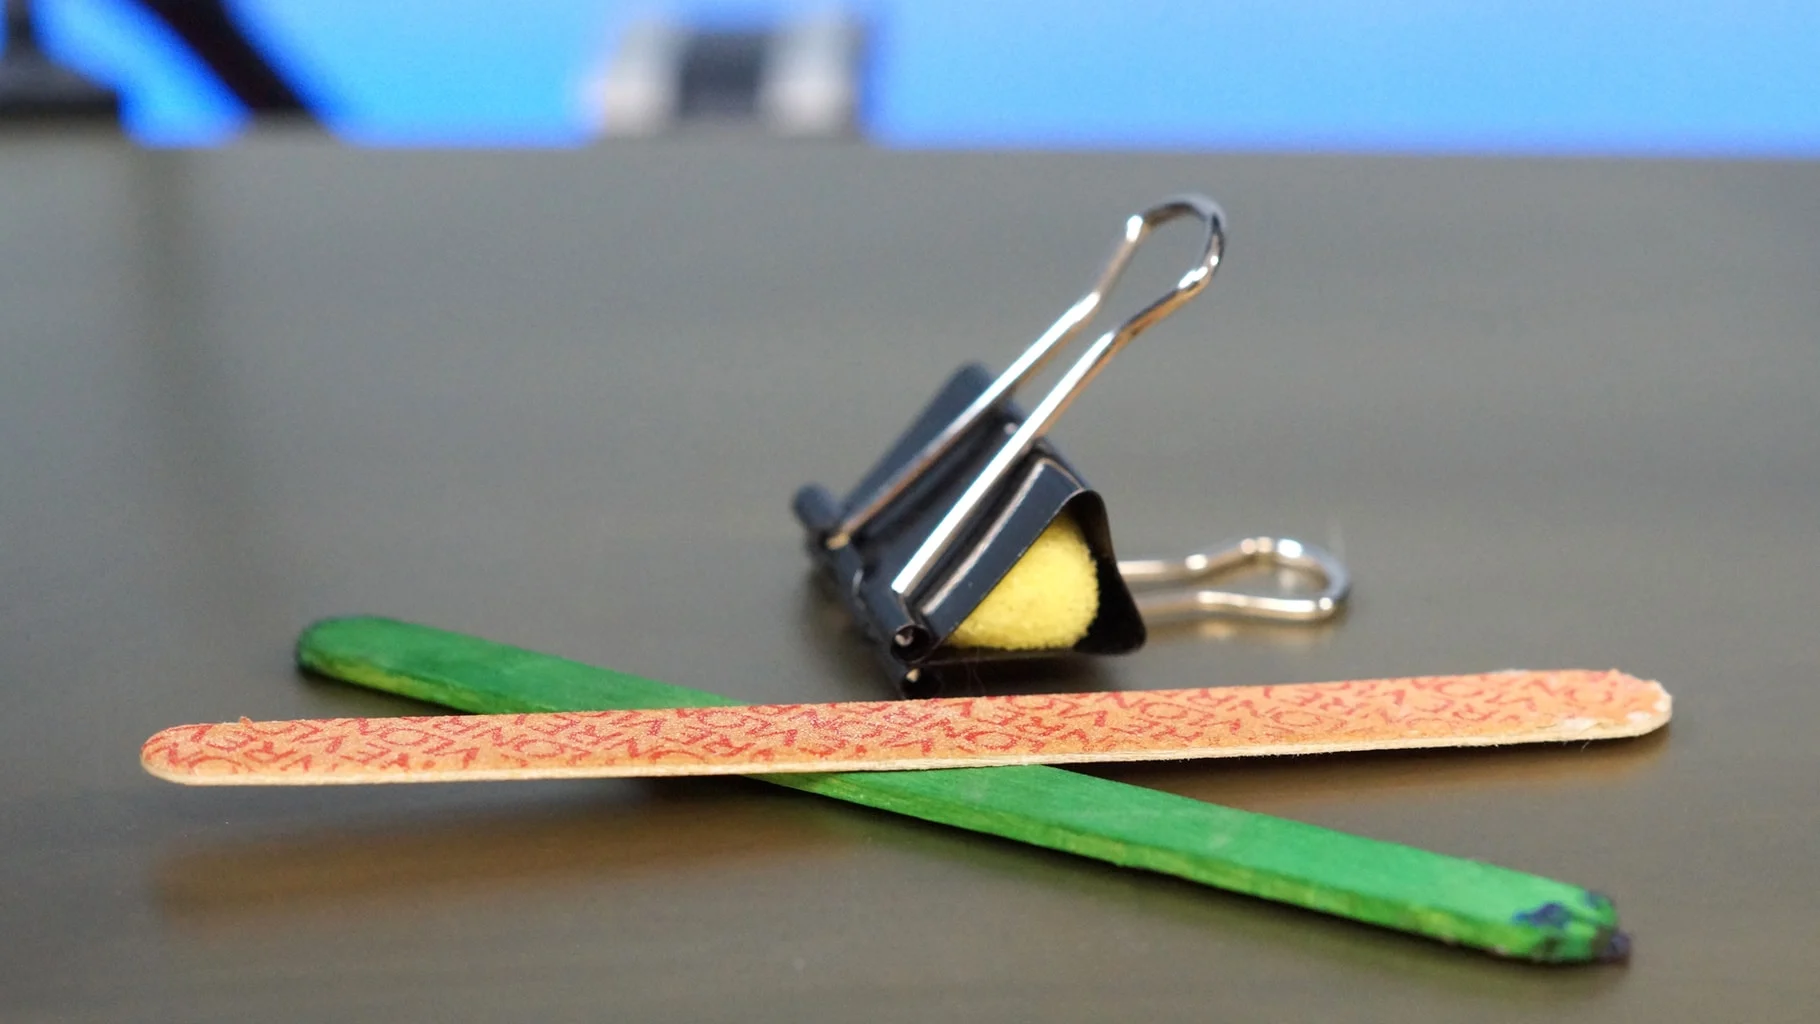
Popsicle Stick: Your nozzle is going to get gooey with stray bits of melted plastic, which can transfers to the next print and cause unsightly blemishes. Heat up the nozzle and scrape it clean with a wooden craft stick. Some people use a brass brush for this job, but if you don’t have one, a popsicle stick will do.
Binder Clip and Sponge: Things get dusty, especially if you keep your printer in a garage or workshop. Keep grit out of your hotend by clipping a piece of sponge to the filament before it enters the extruder. On a side mounted spool, this will also keep your filament from rubbing against a greasy Z rod. Add a drop of olive oil to the sponge for extra lubrication that might prevent stringing.
Needle Nose Pliers: Very helpful for removing stubborn supports.
Emery Board: Nail files are excellent for cleaning up prints and often easier to use than sand paper, especially in hard to reach spots.

Olive Oil: Sanding bumps off your finished prints also removes the shine and can leave a white mark from stressed plastic. If you don’t want to paint, you can return much of the color by rubbing olive oil into the scuffed area.
Lighter: Wisps of plastic from poor retraction settings can be easily removed by holding a lighter NEAR the offending strands. Never burn the wisps directly, you risk leaving a nasty scorch mark.
Craft Knife: A sharp craft knife, like an Exacto blade, is handy for cleaning up prints, especially traces of supports. Just be careful.
Trim Brush: I use an old 2-inch paint brush for removing dust and cleaning up bits of plastic that accumulate under the machine and rollers. Regularly dusting your belts and wheels keeps everything running smoothly.